
 CHI
CHI EN
ENHow to Create a Virtual Private Network in Public Cloud/Dedicated Cloud.
- Log in to your Sharktech Client Area and click on "My Services".

- Select Public Cloud Hosting.

- At the top of your page, click the button "Panel Login." Click on it.

- A new window or tab will be opened, asking for your Username and Password.
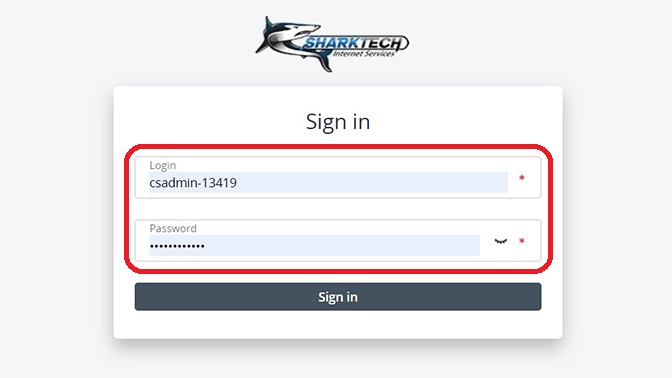
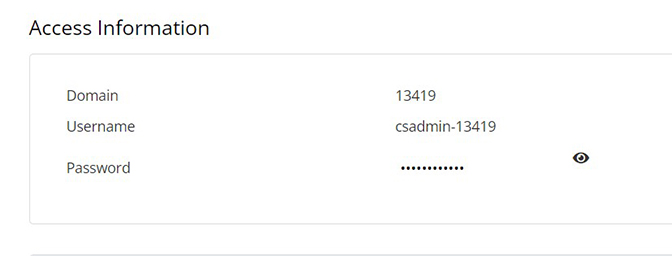
- Enter your Username and password from the "Access Information" section of the Client Area.
- In the left pane, you will see the "Compute" option. Click on it.

- On the left pane, there are all the service options, click on "VPN" and on right click "Add VPN".

-
On the Configure IKE step, specify parameters for the IKE policy that will be used to establish a VPN connection. You can choose to use an existing IKE policy or create a new one. For the new IKE policy, do the following:
- Specify a custom name for the IKE policy.
- Specify the key lifetime, in seconds, that will define the rekeying interval. The IKE key lifetime must be greater than that of the IPsec key.
- Select the authentication algorithm that will be used to verify the data integrity and authenticity.
- Select the encryption algorithm that will be used to ensure that data is not viewable while in transit.
- Select the IKE version 1 or 2. Version 1 has limitations, for example, it does not support multiple subnets.
- Select the Diffie-Hellman (DH) group that will be used to build the encryption key for the key exchange process. Higher group numbers are more secure but require additional time for the key to compute.
- Click Next.

-
On the Configure IPsec step, specify parameters for the IPsec policy that will be used to encrypt the VPN traffic. You can choose to use an existing IPsec policy or create a new one. For the new IPsec policy, do the following:
- Specify a custom name for the IPsec policy.
- Specify the key lifetime, in seconds, that will define the rekeying interval. The IPsec key lifetime must not be greater than that of the IKE key.
- Select the authentication algorithm that will be used to verify the data integrity and authenticity.
- Select the encryption algorithm that will be used to ensure that data is not viewable while in transit.
- Select the Diffie-Hellman (DH) group that will be used to build the encryption key for the key exchange process. Higher group numbers are more secure but require additional time for the key to compute.
- Click Next.

-
On the Create endpoint groups step, select a virtual router and specify local and remote subnets that will be connected by the VPN tunnel. You can choose to use existing local and remote endpoints, or create new ones. For the new endpoints, do the following:
- Specify a custom name for the local endpoint, and then select local subnets.
- Specify a custom name for the remote endpoint, and then add remote subnets in the CIDR format.
- Click Next.

-
On the Configure VPN step, specify parameters to establish the VPN connection with a remote gateway:
- Specify a custom name for the VPN connection.
- Specify the public IPv4 address of the remote gateway, that is, peer IP address.
- Generate the pre-shared key that will be used for the peer authentication.
-
If necessary, you can also configure additional settings by selecting Advanced settings and specifying the following parameters:
- The peer ID for authentication and the mode for establishing a connection.
- The Dead Peer Detection (DPD) policy, interval, and timeout, in seconds.
- Click Next.

- On the Summary step, review the configuration, and then click Create.

- When the VPN connection is created, its status will change from "Pending creation" to "Down". The connection will become active once the VPN tunnel is configured by the other VPN party and the IKE authorization is successful.

- You're Done.
IMPORTANT NOTE: The IKE and IPsec configuration must match for both communicating parties. Otherwise, the VPN connection between them will not be established.
If you still need any help, please feel free to Submit Ticket to our Cloud Hosting Section.